Saving Money & Wasting Less Lesson 4: Around the house
I really enjoyed this article since it brings together simply the many uses of everday household products for cleaning, etc.
Introduction to the article:
In this lesson we will look at how to save money on the common products used in the home. The products suggested are not just cheap, they are natural and not toxic chemicals and so will help save the environment as well as money.
How toxic is your house anyway?
We are encouraged constantly by advertising to make our houses toxic by spraying chemicals around them. We use surface sprays that last for months to kill insects we're often not even sure we have, we 'bomb' our houses to get the chemicals into every nook and cranny in the house. They also get into every nook and cranny of our lungs, and on our skin.
We use chemical cleaners, deodorants, air fresheners and carpet cleaners, and we reach for chemicals in the form of pills every time we have the slightest ache or pain. Is the toxicity of our environment the reason so many people suffer these days from allergies.
We will also look at how clutter in your home can cost you money, and look at how to save money and time on housework.
Some of the household products used in the article:
Sodium bicarbonate (baking soda, bicarb, bicarb soda)
Washing soda (sodium carbonate)
Vinegar
Cloudy ammonia
Lemons
Borax
Salt
Beer
Thursday, February 21, 2008

Monday, November 5, 2007
Chicken Breast Sauce Recipe
1/4 cup butter
1/4 cup flour
1 tablespoon lemon juice
2 cups chicken broth or stock
1/2 cups light cream
(if you do not have cream, milk will work, but the sauce will be thinner)
Melt butter in saucepan and blend in flour. Add chicken broth. Cook, stirring constantly until thickened. Add lemon juice. Stir in cream. Heat, but do not allow it to boil. Makes approximately 3 cups. Serve over spaghetti noodles, chicken, and spinach. I usually double this recipe, since everyone loves the leftovers.
1/4 cup flour
1 tablespoon lemon juice
2 cups chicken broth or stock
1/2 cups light cream
(if you do not have cream, milk will work, but the sauce will be thinner)
Melt butter in saucepan and blend in flour. Add chicken broth. Cook, stirring constantly until thickened. Add lemon juice. Stir in cream. Heat, but do not allow it to boil. Makes approximately 3 cups. Serve over spaghetti noodles, chicken, and spinach. I usually double this recipe, since everyone loves the leftovers.
Sunday, October 7, 2007
Costume Pattern Link
I found this link on www.colleenhammond.com. It has a bunch of patterns from the Victorian and Edwardian periods.
http://www.tudorlinks.com/treasury/freepatterns/index.html
http://www.tudorlinks.com/treasury/freepatterns/index.html
Wednesday, September 26, 2007
HOW TO MAKE BUTTER FROM GOAT MILK
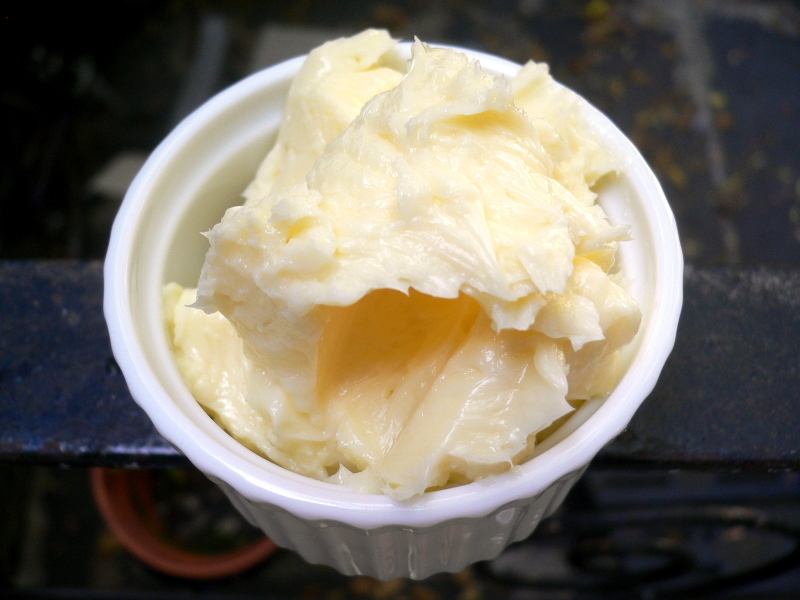 From Mother Earth News
Butter made from goat milk is every bit as good as the same spread made from cow's milk. "As good as", please note. . . not "just like".
For one thing, goat butter has a lower melting point other cow butter . . . possibly because the milk from which it comes contains a higher proportion of unsaturated fatty acids. It's also pure white (unless a butter color is added before churning). The reason is that Nanny—a more efficient machine than a cow—has already converted all the carotene in her product to vitamin A.
Another difference: It's a little more difficult to obtain cream from goat milk because the buttermilk globules are very small . . . partially homogenized, you might say. Thus the rich layer rises more slowly than the larger fat particles in cow milk. In fact, the process may take several days (and you'll have a storage problem to cope with meanwhile).
This problem, of course, can be solved with a create separator right after milking, while the liquid is still warm. The catch is that it's not easy to find such a device these days except as a lucky find, secondhand, in some out-of-the-way place. (Unfortunately, the De Laval Separator Company—one of the last firms to make small hand-operated and electric models in North America—has discontinued the line and I know of no other source for new cream separators except one yet-unproven company recently located in India by Countryside magazine.—MOTHER.)
Apart from cream, here's what you need to make goat butter: a dairy thermometer or other instrument with a range of 50° to 150° F, a small glass churn . . . either hand or electric, butter color if desired, and a double boiler (or a pan of convenient size set into a larger pot of water).
Prepare for buttermaking by letting your cream stand at room temperature overnight—or about 12 hours—so that the butterfat globules will ripen. Add a few drops of coloring at this point if you want the finished product to be yellow.
Next, heat the cream in the double boiler to 146°, give or take a degree or two. Use a thermometer . . . don't guess, is soon as you obtain the correct reading, set the top pan in cold water and cool the contents to 52°-60° F in summer (58°-66° in winter).
The liquid can then be poured into the churn (fill it only half full) and agitation started. If your temperature is correct, butter should "come" in 30 to 40 minutes. Cream that's too cold will take longer to make up and will give you a hard spread which is difficult to work. If the fluid's too warm, rite churning will be incomplete and will yield a soft, greasy from which you won't be able to wash the buttermilk.
Your work is finished when the butterfat has gathered up in granules the size of a pea. (You'll also notice a change in the sound of the dasher.) Pour off the buttermilk through the holes in the top of the churn (they also allow gases to escape), Be sure to save the liquid!
Next, fill the churn with water of the same temperature as the new-made butter. (Too much warmth will melt the fat, and a cold bath will harden it and make it difficult to knead.) Give the handle a few gentle turns and pour off the washing fluid. Repeat this operation two or three times until the rinse water runs clear.
Finally, spread the butter in a shallow pan or wooden bowl and add salt if you like . . . 3/4 ounce to the pound, or as much as tastes good to you. Work the mass by pressing it with a spoon or plastic spatula. Fold the butter over and press again. Continue in this manner until no more water seeps out under pressure. You're then ready to form your spread into any desired shape. I mold mine in covered pint-sized plastic containers that are available at reasonabie prices from any supermarket or dime store.
Remember that your homemade goat butter contains no preservatives and must be kept in the refrigerator when you aren't using it. If left out at room temperature it will melt or become rancid.
Nevertheless, don't hesitate to make lots of this delicious natural food when you have a surplus of milk. I've kept butter frozen for six months or more, and when I thawed and used the spread it was just like fresh-made. I suggest packing and freezing your churn's output in plastic tubs and transferring it, still frozen, to pint Kordite freezer bags. The resulting square packages are easy to stack in the coldstorage unit.
If the buttermaking method I've outlined sounds like too much work or, involves too much equipment, there are alternatives . . . usually less satisfactory, it's true, but experimentation is part of the fun of "doing it yourself". For example, butter can be made in a mixer, or a pint of cream can be shaken in a quart fruit jar until the fat solidifies. My recommendations about churning temperature also hold true for these procedures. Incidentally, it is possible to churn whole milk . . . but you must use a large amount of raw material for a very small return.
That's about it. Experiment, have fun, and enjoy your own delicious, nutritious, natural goat butter.
TIPS ON HANDLING MILK
[1] Milk itself, and all the utensils you use in its storage and processing, must be absolutely clean. Remember that this "perfect food" is ideal nourishment for bacteria too.
[2] Never cover warm goat milk when you put it in the refrigerator, because the resulting condensation can affect the taste. Place a lid on the container only after its contents are cold. It follows that you must cover all strong-smelling fruits and vegetables—onions, canteloupes, etc.—that are being stored at the same time, or the milk may pick up the odors and develop an "off" flavor.
[3] Skimmed goat milk is very tasty and contains all the original nutrients except most of the butterfat. If you eat the butter and drink the buttermilk that's left after churning, you'll be getting all the goodness your milch doe has to offer. (If you don't like buttermilk, incidentally, your chickens will.)
All articles in this Archive are reprinted just as they were originally published; the publication date is shown in the URL address at the top of the page. Source listings, addresses and prices have not been updated; some details may have changed and terminology may be outmoded.In some cases the scanning software used to create the digital articles has introduced typos into the text. In particular, the software often translated fractions incorrectly, i.e. "1/2" now reads as "112". We are working to correct these errors.
Saturday, July 28, 2007
Natural Bug Repellent
Acquire a spray bottle and fill it with water. Then add about 5-8 drops of Lavender and spray it all over you, especially around your legs, boots and head. You can also do this with Peppermint or a combination of the two. My brother is out in the yard all of the time and he says there is a big difference when he uses it.
Lavender is really good for alot of skin problems, like plant stings and burns (including sunburns).
Lavender is really good for alot of skin problems, like plant stings and burns (including sunburns).
Wednesday, May 23, 2007
Colorado Potato Beetle
Sadly we have lost all our potato plants this year because of the Colorado Potato beetle. My mom and I did some research today and I wanted to share some of our findings in case they might be of help especially when planning for next years garden .
.
From Wikepedia:
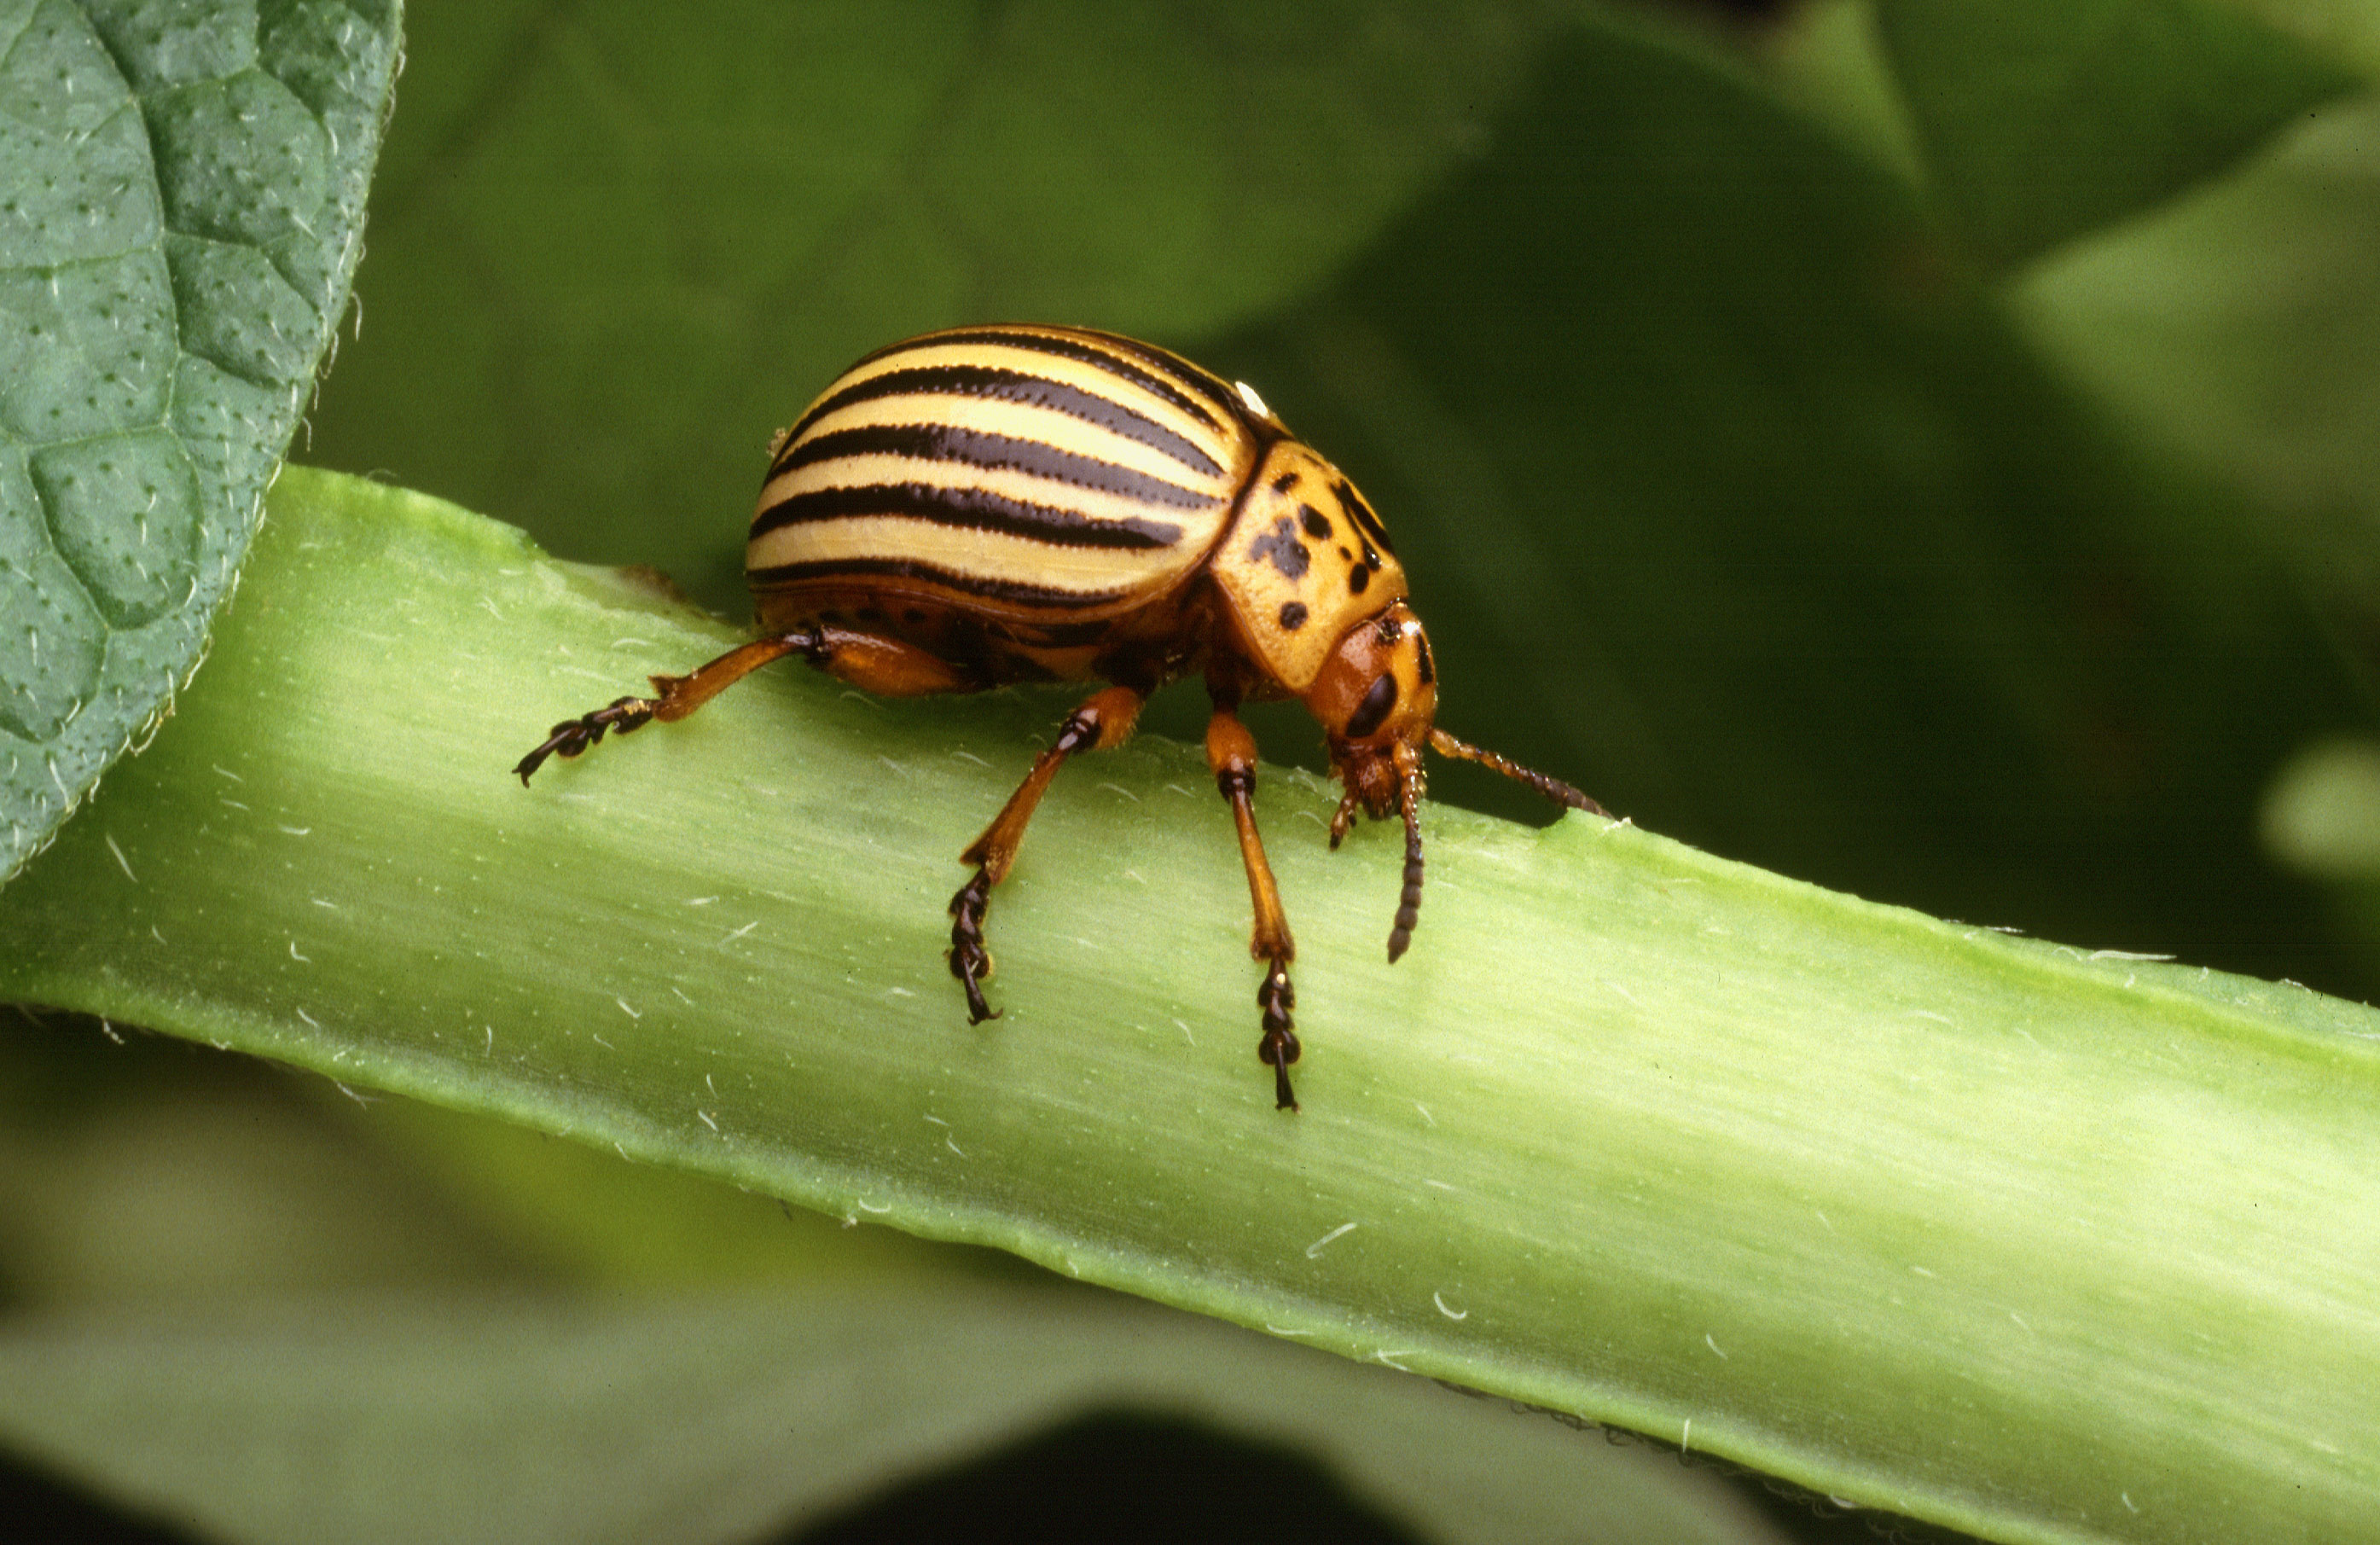
The Colorado potato beetle (Leptinotarsa decemlineata, also known as the Colorado beetle, ten-striped spearman, the ten-lined potato beetle) is an important pest of potato crops. It is approximately 10 mm (0.4 inches) long, with a bright yellow/orange body and 5 bold brown stripes along the length of each of its elytra, and it can easily be confused with its close cousin and look-alike, the false potato beetle.
CPB females are very prolific; they can lay as many as 800 eggs. The eggs are yellow to orange, and are about 1.5 mm long. They are usually deposited in batches of about 30 on the underside of host leaves. Development of all life stages depends on temperature. After 4-15 days, the eggs hatch into reddish-brown larvae with humped backs and two rows of dark brown spots on either side. They feed on the leaves. Larvae progress through four distinct growth stages (instars). First instars are about 1.5 mm long; the fourth is about 8 mm long. The larvae in the accompanying picture are third instars. The first through third instars each last about 2-3 days; the fourth, 4-7 days. Upon reaching full size, each fourth instar spends an additional several days as a non-feeding prepupa, which can be recognized by its inactivity and lighter coloration. The prepupae drop to the soil and burrow to a depth of several inches, then pupate. Depending on temperature, light-regime and host quality, the adults may emerge in a few weeks to continue the life cycle, or enter diapause and delay emergence until spring. They then return to their host plant to mate and feed. In some locations, 3 or more generations may occur each growing season.
*Picture to the right is the larvae in their third instars
The Colorado beetle has developed resistance to all major insecticide classes.
All about the Colorado Potato Beetle from Wikipedia
a more detailed article
A Natural Solution! - Flax is a Repellent Plant that May Protect Potatos from Colorado Potato Beetle Infestations
From: Home Remedies, Holistic Approach, Repellent Plants
See How to grow flax
Next year we will for sure be growing flax next to our potatoes but for this year we are resorting to picking the beetles the old fashioned way - by hand. Any other ideas would be appreciated. We have tried diatomaceous earth but we have not found an efficient way of applying it.
 .
.From Wikepedia:
The Colorado potato beetle (Leptinotarsa decemlineata, also known as the Colorado beetle, ten-striped spearman, the ten-lined potato beetle) is an important pest of potato crops. It is approximately 10 mm (0.4 inches) long, with a bright yellow/orange body and 5 bold brown stripes along the length of each of its elytra, and it can easily be confused with its close cousin and look-alike, the false potato beetle.
CPB females are very prolific; they can lay as many as 800 eggs. The eggs are yellow to orange, and are about 1.5 mm long. They are usually deposited in batches of about 30 on the underside of host leaves. Development of all life stages depends on temperature. After 4-15 days, the eggs hatch into reddish-brown larvae with humped backs and two rows of dark brown spots on either side. They feed on the leaves. Larvae progress through four distinct growth stages (instars). First instars are about 1.5 mm long; the fourth is about 8 mm long. The larvae in the accompanying picture are third instars. The first through third instars each last about 2-3 days; the fourth, 4-7 days. Upon reaching full size, each fourth instar spends an additional several days as a non-feeding prepupa, which can be recognized by its inactivity and lighter coloration. The prepupae drop to the soil and burrow to a depth of several inches, then pupate.
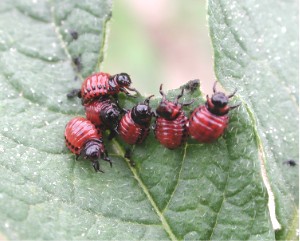 Depending on temperature, light-regime and host quality, the adults may emerge in a few weeks to continue the life cycle, or enter diapause and delay emergence until spring. They then return to their host plant to mate and feed. In some locations, 3 or more generations may occur each growing season.
*Picture to the right is the larvae in their third instars
The Colorado beetle has developed resistance to all major insecticide classes.
All about the Colorado Potato Beetle from Wikipedia
a more detailed article
A Natural Solution! - Flax is a Repellent Plant that May Protect Potatos from Colorado Potato Beetle Infestations
From: Home Remedies, Holistic Approach, Repellent Plants
See How to grow flax
Next year we will for sure be growing flax next to our potatoes but for this year we are resorting to picking the beetles the old fashioned way - by hand. Any other ideas would be appreciated. We have tried diatomaceous earth but we have not found an efficient way of applying it.
Sunday, May 6, 2007
Mullein
Common mullein is a hairy beinnial plant that can grow up to 2 meters. Its small, yellow flowers are densely grouped on the stem, which bolts from a large rosette of leaves.
I see mullein growing everywhere around here and I often point it out to others. When they ask what it is used for I begin to stumble around trying to remember. Well no longer. Here is everything you need to know about mullein and it's many uses. One of the first things to know when beginning to use herbs found in the wild is to identify them (it can be a BIG mistake if you mess up). Pictured below and to the right is 'The Roadside Flowers of Oklahoma' which is a book we finally bought (it is no longer in print) to help us in identifying the plants in our area. We can then look up in our remedy books how to use it ... or use the internet!
I see mullein growing everywhere around here and I often point it out to others. When they ask what it is used for I begin to stumble around trying to remember. Well no longer. Here is everything you need to know about mullein and it's many uses. One of the first things to know when beginning to use herbs found in the wild is to identify them (it can be a BIG mistake if you mess up). Pictured below and to the right is 'The Roadside Flowers of Oklahoma' which is a book we finally bought (it is no longer in print) to help us in identifying the plants in our area. We can then look up in our remedy books how to use it ... or use the internet!

From Herbal Remedies
Mullein Verbascum densiflorum (Spinach Family)
Mullein is an old-time remedy for bronchitis and dry, unproductive coughs.
The leaves and flowers are used to reduce mucous and expel phlegm. Mullein is valued for its ability to loosen mucus and move it out of the body making it a valuable ally for lung problems.
Mullein has also been used to treat lymphatic congestion and as an anti-spasmodic and astringent herb.
A popular remedy for treating respiratory ailments such as asthma, coughs and bronchitis.
This herb is also used to clear congestion, soothe sore throats, and control diarrhea.
It can be used topically to soothe hemorrhoids and treat cuts & scrapes.
The infused oil is used to treat earaches. The oil is warmed and placed in the ear on a peice of cotton.
Leaves are used medicinally in oils, teas and compresses.
CAUTIONS: Seeds are toxic and should be avoided.
Other links about Mullein:
http://www.herbalremediesinfo.com/Mullein.html
http://www.herbalremediesinfo.com/verbascum.html
http://en.wikipedia.org/wiki/Verbascum_thapsus
http://www.cloudnet.com/~djeans/FlwPlant/commonMullein.htm
http://www.naturalark.com/herbcomb.html
Challenge yourself the next time you are out and about to keep an eye out for mullein and see if you can find it! =)
Subscribe to:
Posts (Atom)

